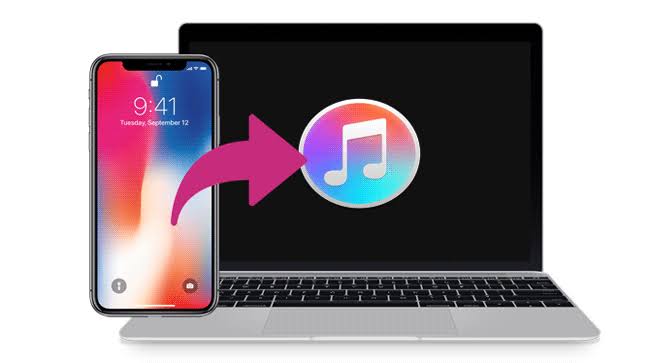
We now listen to music almost exclusively on our iPhones, which contain vast libraries of all of our favorite songs.
On the other hand, there are instances when you might want to transfer music from your iPhone to your personal computer. This could be done for the purpose of creating a copy, freeing up space, or making your music available on your personal computer.
Allow us to be of assistance to simplify matters for you a little bit. Detailed instructions on how to transfer music from your iPhone to your personal computer are provided below.
Read also: How to cancel MTN, Airtel, GLO auto-renewal data plan
Step 1: Connect Your iPhone to Your PC
Start by using a USB connection to connect your iPhone to your PC. Make sure your iPhone is unlocked. Your iPhone may then ask you if you want to let your PC view your photos and videos. Press “Allow” to move forward.
Step 2: Open iTunes (or Finder on later macOS versions).
Suppose your PC is running Windows, open iTunes. Suppose your PC runs a Mac with macOS Catalina or, later, open Finder. iTunes will instantly find your iPhone when you connect it.
Step 3: Select Your Device
Find your iPhone’s icon in iTunes or Finder and click on it. This will bring up your iPhone’s status page, which shows you different information about your device.
Step 4: Choose “Music” from the sidebar
In iTunes or Finder, go to the left tab and click on “Music” next to your device. In this case, all of your iPhone’s music will be shown.
Step 5: Pick out the music you want to move
You can do one of two things:
Transfer the Whole Library: To move your music, check the box next to “Sync Music” and make sure “Entire music library” is chosen.
If you only want to move certain songs or playlists, pick “Selected playlists, artists, albums, and genres.” Then, pick out the playlists, bands, albums, or genres that you want to move one by one.
Step 6: Start the transfer
Click “Apply” or “Sync” in the bottom right corner of the iTunes window once you’ve picked out the songs you want to move. iTunes will start moving the music you chose from your iPhone to your PC.
Step 7: Wait for the Transfer to Complete
How long it takes to transfer songs is based on how much data is being sent. It will usually take longer to use more significant libraries. Make sure your iPhone stays online while this is going on.
Step 8: Confirm the move
When the move is done, open iTunes on your PC and go to the “Music” area. All of the music you moved should be there, organized nicely.
So that’s it! Your music is now on your PC after being moved from your iPhone. Now, it’s easy to listen to your favorite music on both your iPhone and your computer. This method works for music that you bought and music that you didn’t buy.
Transferring music from your iPhone to your PC can be a convenient way to create backups and have your music accessible across multiple devices. Following these easy steps, you can keep your music collection safe on your PC and listen to it whenever you want.
